Wednesday, June 29, 2011

PROJECT PRETTY UPDATE!

So!  My furniture sale results are..........
Zilch.
Zipp.
Nada.
In lieu of said nothingness, I decided to see how this new idea might work out.  Hit me up people! I'm armed and ready to paint!


Monday, June 20, 2011

Project Pretty

Hello all!  I have some fun updates I have been working on this past week.  As we are coming closer and closer to our move, *sigh* I am getting more and more excited about fun DIY decorating on the cheap!  You remember my $25.00 garage sale occasional table?  Here she is now!  
I haven’t decided on hardware yet, hence her lack of jewelry, but I LOVE the outcome so far.  I'm still debating which pulls I’ll go with, but I do know they'll be from Anthropologie.


Never the less, they don't need to be functional since there isn't actually a drawer there - she just for looks you know, as a lot of pretty ones are.

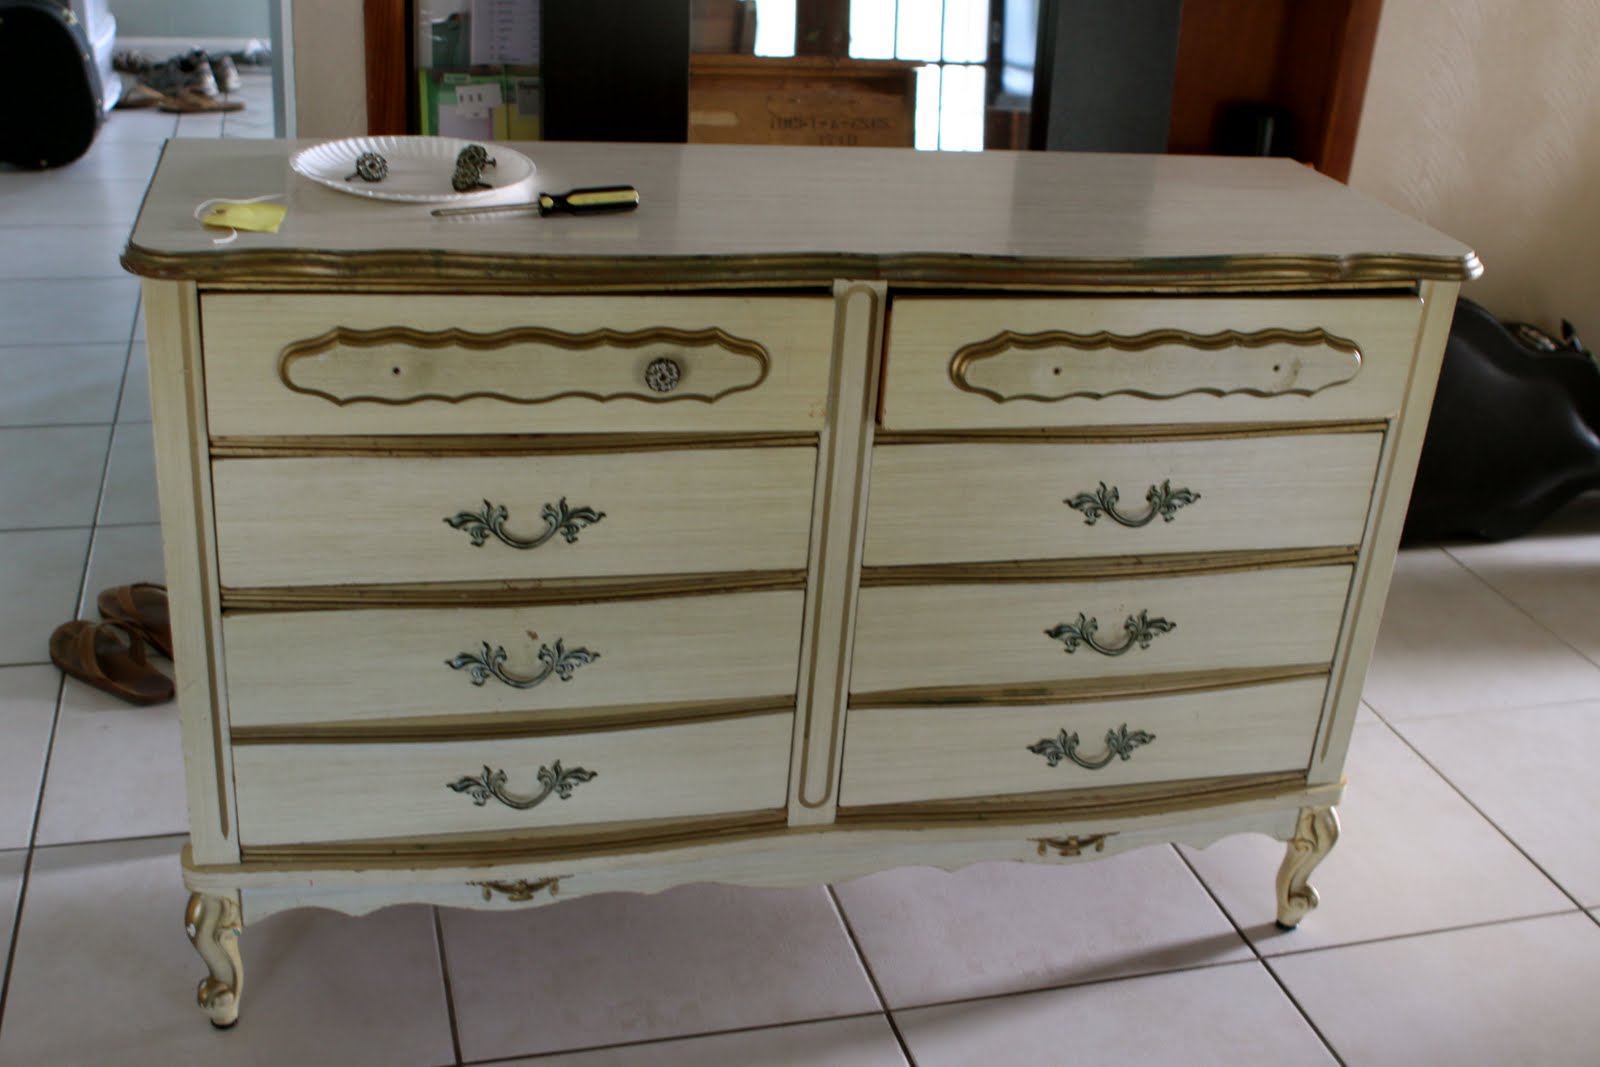
Here’s my latest re-model.  I am so in love, but alas this thrift store investment was only made in lieu of me selling it to make more dough, in order to buy more furniture to refinish & resell, in order to buy more furniture for us to keep!  Did you get that tangled web I wove?  Without further ado, here’s her wretched before pictures: 


And her tiffany blue afters. (picture #1 is most true to her color in real life)


Is it just me or is this baby the epitome of perfection?  Not to mention her lovely legs, charming original antique hardware, and did you notice those vintage embellishments?  Again, I’m in lurrrrrve.  Her drawers are even lined, ready to nestle all your wonderfully fashionable clothes.  

Oh and I bet you’re wondering about the top and why I left it original.  I find that leaving a piece’s top with the original finish adds more character - no it’s not because I got lazy after the ump-teen sanding, priming and painting hours.  It was actually an intentional design decision.  Also, with painted pieces, the color can be a bit overwhelming when it covers every surface, so a little change in texture/color can be a nice resting place for the eyes.  Catch my drift?  My husband didn’t get it, but I think she’s perfectly gorge, original top and all.  

Sticker price $225.00 - if I didn’t already own her, I’d pounce at the chance.  

E-mail here for purchase info: kendralovestosign@gmail.com 

Sunday, June 12, 2011

Buffalo Chicken Wraps


   This past week I did something a little daring, a little crazy, some may even go as far as flew off the handle.  Bum bum ba bum.... I tried out a new recipe for the first time, not just on my dearly beloved, but on two unknowing friends.  The result?  Pretty dang exciting... said in a Nacho Libre voice.  I was a little worried with the overwhelming smell of buffalo sauce enveloping the house, but luckily they were a hit!  What can I say?  I live life on the wild side.  AND they were a SINCH to make and super yummy - how's that for refined?  Oh, did I mention cheap?  I mean come. on.  Tortillas, ranch dressing, lettuce, and chicken breast?  Definitely won't break the bank.  So here she blows!  Or rolls.... for that lack of a better word.

Ingredients:

  • 1 extra large flour tortilla per person
  • 1 chicken breast per person (this seemed like a lot to me too, but it worked out with just a little leftover)
  • 2 small heads of romaine, julienned
  • Shredded Mozzarella Cheese
  • Ranch Dressing (we used non-fat to be extra conscientious) 
  • Buffalo Sauce Marinade (we used Ken's, it was on sale)

Prep:

  1. Dice raw chicken into one-inch cubes
  2. Place in marinating dish or glass baking dish.
  3. Pour marinade over top and toss.
  4. Let stand for at least one hour.
  5. DO NOT marinade over night - the acidity will turn the meat into a buffalo ceviche = not good.
  6. Add one cup of flour to marinade and stir well - this should thicken the sauce but not clump it.
  7. Cook in greased skillet on high for 2 minutes.
  8. Reduce heat to medium low, cover and allow to cook for another 10-12 minutes or until all pinkness is cooked out - taste check.
  9. Remove from heat.
  10. Build your wrap!
    1. Open tortilla.
    2. Fill with meat & lettuce.
    3. Sprinkle cheese on top.
    4. Add ranch dressing or pour on the side to dip.
    5. Enjoy! 
*Optional: 
  • add diced tomatoes for more color and flavor building (we're tomato haters)
  • serve on spinach, tomato or whole wheat tortillas for a more healthy choice
  • double batter and deep fry chicken for a more crunchy texture