Showing posts with label Thanksgiving. Show all posts

Wednesday, November 24, 2010

How To Brine A Turkey

I'll be honest with you, I didn't know what the word "brine" meant either.  I am by no means a Julia Child when it comes to cooking so don't be intimidated in the least.  This will only be my second turkey, so we're in this together.  When I saw this recipe on food network, I thought, man that looks good.  Who would have ever thought to marinate a turkey?  Not me.  Chicken, beef, sure - but turkey? Brilliant!  So, brine, by definition means:
brine [braɪn]


noun
1. (Cookery) a strong solution of salt and water, used for salting and pickling meats, etc
2. (Earth Sciences / Physical Geography) the sea or its water
3. (Chemistry / Elements & Compounds) Chem
a.  a concentrated solution of sodium chloride in water
b.  any solution of a salt in water a potassium chloride brine
verb
(tr) to soak in or treat with brine

Now again, this may seem daunting, but if the outcome is as good as all the reviews say, it's gotta be worth it.  We'll see two days from now & I'll let you know how it goes, but for now, here's what you'll need to get Birdie started.


Ingredients:

  • 24 lb. turkey 
    • (I realize this is enormous, so just halve things down if you get a smaller guy)
  • 5 sweet onions
  • 10 cloves fresh garlic
  • 64 oz. vegetable broth
  • 64 oz. apple juice
  • 192 oz. water 
    • (i.e. refill the apple juice container three times)
  • 1 bunch fresh rosemary 
    • (by bunch, I mean, I went outside and picked a bunch)
  • 1 bunch fresh thyme
  • 1 bunch fresh basil 
  • SALT SALT SALT
  • Pepper
  • 2 tablespoons "Savory" seasoning
  • Ice
Prepare
  • Get turkey out of bag and de-gut. Yuck yuck yuck.  I'll admit, my Dad helped me with this part last year, but I was left to my own devices this time around - bummer.
  • Rinse well inside and out.  Pat dry.
  • Carefully drop into plastic container big enough + lots of broth.  I got a "74 lb" one if that helps.
  • Add all veg broth, juice, and half of water.
  • Peel onions and quarter. Add to container.
  • Peel garlic, smash to release flavor & add to container.  It should look like this so far.


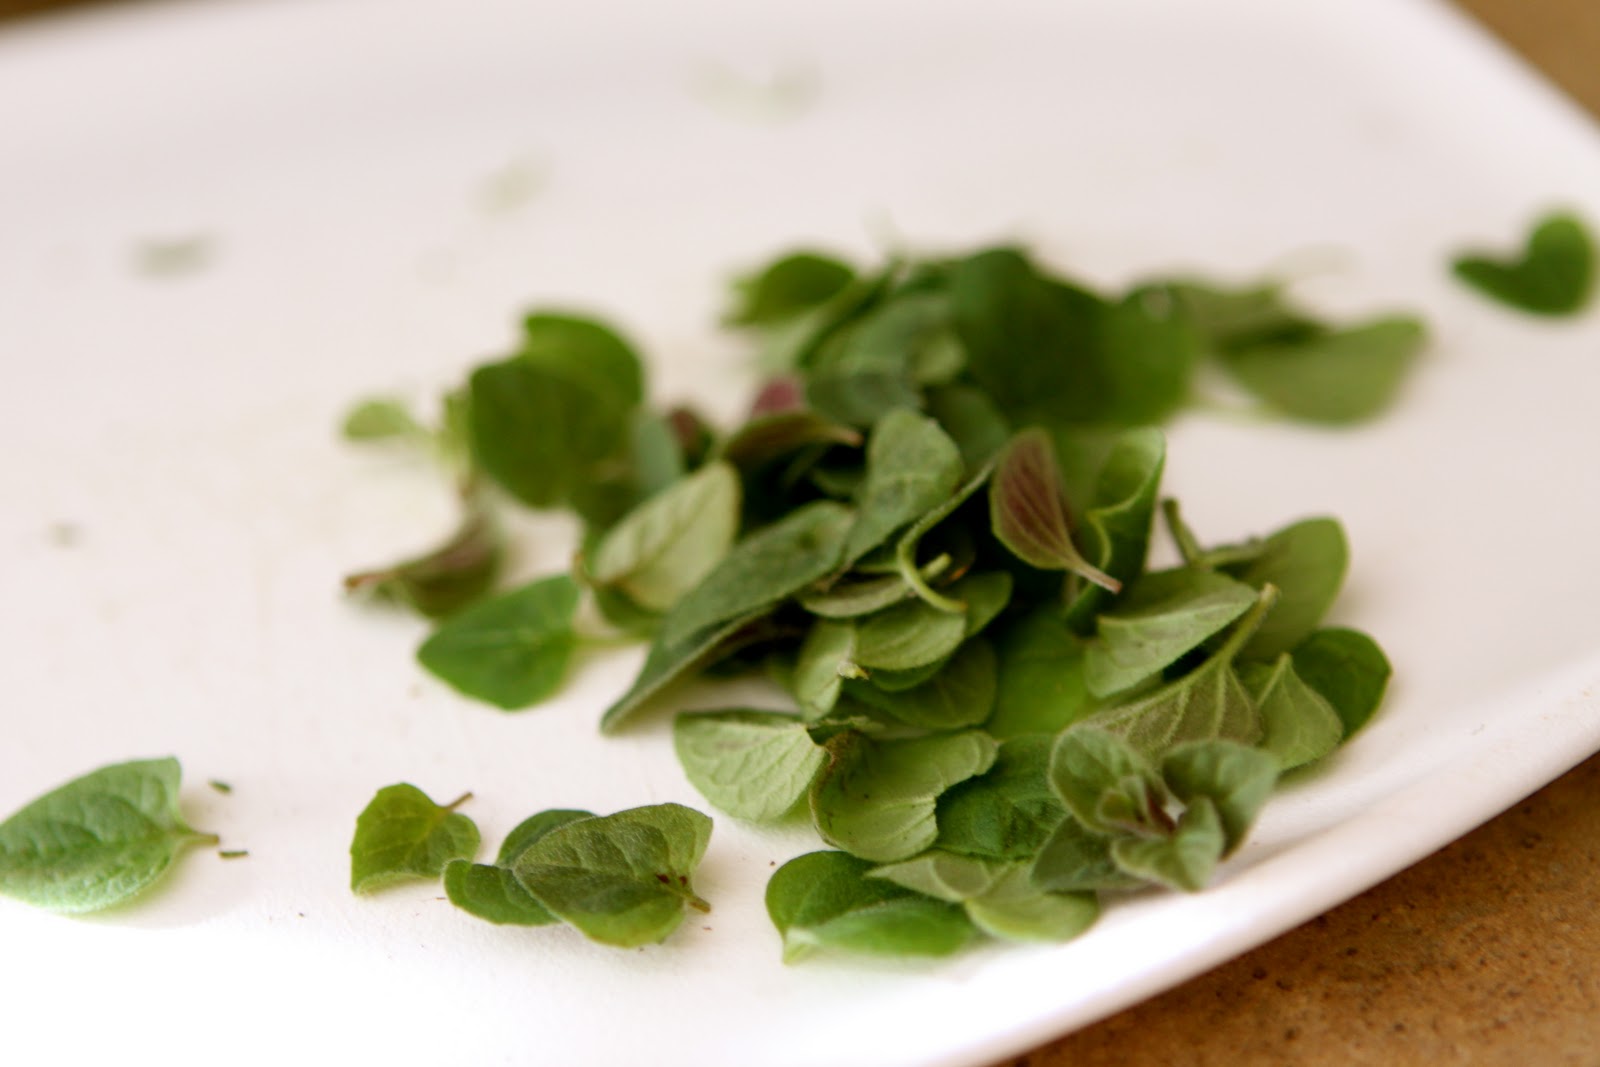
  • Next get your herbs together.  Personally, I used fresh because that what's I had on hand, and let's be honest, it just looks good. Pictured below: thyme.  
  • Pick off stems, (we don't want those in the jacuzzi) bruise, tear, chop. Don't skip this step or your herbs will do nothing for you!
  • Add to turkey box along with savory season, a couple handfuls of salt and a couple dashes of pepper.  DON'T BE SCARED TO SEASON!  Think about how big a bird this is, (no pun intended big bird) and how much water there is + the sweet apple juice!  Do not by shy folks!
  • Top with remaining 1 1/2 containers water and give the turkey a good dunk.  Try to stuff some of the onions & garlic underneath him and try to mix around him without splashing too much. He should look like this now:
  • Now doesn't that look pretty good?  I think so.  To finish add enough ice to fill in the broth spots.  I would guess 4-6 cups.  You want to keep him chilled.
  • Next, cover, put in fridge and let it soak over night, like so:
  • If all goes well this turkey should be falling off the bone after being cooked. 
  • Oh by the way, about that.  When turkey day arrives and you are ready to get the bird cooking, pull him out of his bath and pat dry. Be sure his insides are clear of marinade as well.  Discard marinade & contents - it is contaminated now.
  • Fill bird with 1-2 quarted onions, 1 orange, & celery. 
  • Make herb butter or purchase and rub underneath the skin as seen in handy video (click here).
  • Next, put turkey in roasting bag and follow directions according to weight.  For this twenty-four pounder it will take about 3 hours to cook. Although this seems quick, brining your turkey will shorten cook time, not to mention the bag.
  • Once cooking is finished let turkey sit for at least 15 minutes, pref a 30 in the bag!  This will allow the juices to redistribute and remain in the bird - a little trick I've learned from my awesome father-in-law i.e. seasoned butcher. 
  • Save drippings to make gravy, as seen in this handy video (click here).
    • I use water instead of broth and nix the wine and a fine mesh strainer will do to separate.
If you think of me tomorrow, say a little prayer! I hope that this guy turns out well and starts a new tradition of moist & flavorful turkey! Happy Thanksgiving everyone!


Monday, November 22, 2010

Gimme Your Tots!

For my last birthday, my dearest husband bought me a TON of my favorite food network stars' DVD series.  One of my favorites, who is a little lesser known, is Anne Burrell.  She is hilarious and if you don't know who she is, think about the lady with the crazy bleach blonde pixie hair, whit to kill, and whom often speaks in a growling voice.  Ring any bells?  Okay - just google it.  Anyways, this recipe was on one of the DVDs that I received and although I'm not a huge mash-tater fan, this recipe includes heavy cream so I can only imagine it tasting pretty close to heavenly.  Again, this is for THANKSGIVING, the holiday that exhorts gluttony so just roll with it and repent later.


Ingredients

  • 2 pounds Yukon gold potatoes, washed and quartered
  • 4 cloves garlic
  • Kosher salt
  • 1 1/2 cups heavy cream, warm
  • 1 stick cold butter, cut into 9 pats

Directions

  1. Place the potatoes and garlic in a large sauce pan. Cover with 1 to 2 inches cold water and season generously with salt. The water should taste like the sea. TASTE IT! If the water is under seasoned at this point it will be hard to have a well seasoned end product. 
  2. Bring the pot of water to a boil and cook until the potatoes are fork-tender, about 20 to 25 minutes. 
  3. Drain the potatoes and garlic well and pass through a food-mill or ricer. DO NOT use a food processor or blender. It will result in a very sticky and rubbery end product.
  4. While passing the potatoes, bring the heavy cream to a boil in a small saucepan. Once the cream has come to a boil remove from the heat.
  5. While the potatoes are still hot add 1/3 of the cream and butter and stir vigorously into the potatoes.
  6. Repeat this process 2 more times until all of the cream and butter has incorporated. 
  7. Taste the potatoes for seasoning and add salt, if needed. 
  8. Serve immediately or cover with foil and keep warm in an oven on low heat.

Friday, November 19, 2010

The "Green Stuff"

This recipe hales from the great state of Minnesota i.e. my mother-in-law.  She is a born and raised Midwesterner and knows all about the word "salad."  Now to me, salad means things like lettuce & croutons but trust me, as any Minnesotan and they'll tell you differently.  If this seems confusing to you then you need to see the movie "New In Town."  However, if you haven't acquainted yourself with the, hmm, culture, you are missing out - Don't ya know?  So onto this beloved recipe which I'd say is a GREAT substitute for lettuce and croutons any day of the week - it is green right?

Randall Scale:
Grocery...............$7-9
Skill Rating..........a blind person could make it (no offense)
Serving Size........10-15 (this recipe is doubled)
Prep time.............30 seconds + refrigeration over night


Ingredients:
  • 2 boxes JELLO Pistachio Pudding
  • 2 tubs 8 oz cool whip
  • 20 oz can crush pineapple in juice (not syrup)
  • 3 cup mini marsh mellows 
  • 1/2 cup finely chopped walnuts *optional*
Prepare:
  1. Mix all dry JELLO mix with pineapple - combine well.
  2. Add walnuts if you so desire, we never add nuts but if you're feeling nutty...haha.
  3. Add marsh, combine again.
  4. Fold in cool whip.  Be sure not to over mix or it won't hold.
  5. Pour into serving dish or mold and allow to sit in fridge overnight.  
  6. Serve WITH main course - yes you heard me right. I LOVE THE MIDWEST!

Thursday, November 18, 2010

Broccoli & Cheese? Yes Please.

Good Evening Ladies & Gents!  This here is the kick off for my Thanksgiving recipe series - I do hope you enjoy them and dare I say, try them out this upcoming turkey day!  The first star to enter the spotlight is the daring and rather, unusual Broccoli Vee Casserole.  Now - know this, I don't eat broccoli any other day of the year but this recipe makes me want to swim in it - props to my Mom as she is the brilliant mastermind behind hiding good things is bad food (that will make more sense once you see the recipe). Now before you jump all over my velveeta, yes, you use velveeta in this recipe, you have to try it.  It doesn't taste like velveeta when used in this recipe because all you can taste is buttery ritz cracker goodness.  Here we go!


Randall Scale:
Grocery......................$12.00
Skill Rating..................Kindergarten Friendly
Serving Size................10-12 peeps
Prep Time...................30-40 minutes tops


Ingredients:

  • 1 large bag frozen broccoli florets 
  • 1 medium brick Velveeta Cheese
  • 1/2 stick-a-butta
  • 1-2 sleeves Ritz Crackers
  • 1 casserole dish (somewhere around 12 by 12)
Prepare:
  1. Open cheese. Now, again, I know Velveeta is the king of all kings of processed cheese - heck you get it OFF THE SHELF next to the pasta sauce.  If you just can't bear to use dear old V then substitute this with a nice melty cheese like gouda or gruyere.
  2. Cube into small 1/2 inch bites - pop a few if you are so inclined.
  3. Remove Ritz sleeve numero uno and empty contents into gallon sized ziplock.  Bang bang bang til its nice and crumbly, but not too fine - a good time for the kids to help.
  4. Take broccoli out of freezer and pour into greased casserole dish or corning wear.
  5. Cover broccoli with cubed cheese like it's your number one job. Mmm mmm good.  
  6. Cover cheese with Ritzy ditzy crumbs, if you run out of crumbs enlist the kid's help again and proceed to cover completely.
  7. Remove half stick of butter from fridge.  Melt in microwave and pour over crackers - this keeps getting better and better, my mouth is watering!
  8. Preheat oven to 350-375 degrees.  Cook for 15-18 minutes.  Watch.  When finished, the crackers should be golden brown and crispy and the cheese yummily melted.  If not put back into oven until crispiness and meltiness is achieved.
  9. ENJOY & HAVE SECONDS!